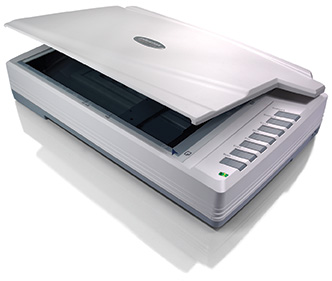
After a long break from scanning, I recently decided to get a new (bigger!) A3 scanner which is seriously great for large photobooks. :O It is a bit overkill for private use...still, I wanted a good A3 scanner. They seem hard to come by for anything else than business purposes. But this flatbed CCD scanner seemed to be the right choice for my purposes.
Sadly, I am a sucker for quality and meticulousness, so I wanted to achieve the best results possible from my new semi-high-end scanner: a scanner calibration was highly needed (but shite...this is complicated stuff, even for a seasoned hobby scanner like myself with 10+ years of Photoshop experience).
I spent weeks learning about calibration. Finally, I purchased an IT8 target from
targets.coloraid.de (very high quality and non-pricey), one based on FUJIFILM Crystal Archive Paper and another on KODAK Professional Paper. I used the Fuji target for my first calibration. The result is amazingly true colours, I must say (calibration
is a must for graphical artists who are scanning their work). The scanner calibration is not permanent. From my understanding, calibration should be done once in a while (due to the aging of the scanner's bulp which causes colours to change after a certain period).
Now to the goodies :) ...well, just a single scan to show off the current calibration results. And not least, to show off the sweet'n'busty
Leah from mid/late 90s for the very first time in this blog. :)
Plustek OpticPro A320 - Flatbed-scanner
IT8 Calibration Target (FUJIFILM Crystal Archive Paper)
= Leah, after calibration and restoration!
My "before calibration" scan was a different image that I won't be posting, so you will have to compare with my older scans to see the difference in colour quality (hopefully obvious!).
My scans are still restored in Photoshop, but the scanner calibration should greatly reduce the time spend on restoring scans. :O
I still have a lot of non-scanned stuff, and the calibration have certainly revived my motivation to actually scan
that stuff, so hopefully I can find time to update this blog a bit more in the future!
Note: I decided to post in English again :P
Note 2: For best viewing quality, monitor calibration is needed. For this, I recommend LCD test pages like the
Lagom LCD monitor test pages and/or
X-Rite ColorMunki Display (non-pricey, decent results with included software, optimal results with
dispcalGUI).